What Prep Work Is Required Before Starting a Cabinet Installation? An Orlando Homeowner's Guide
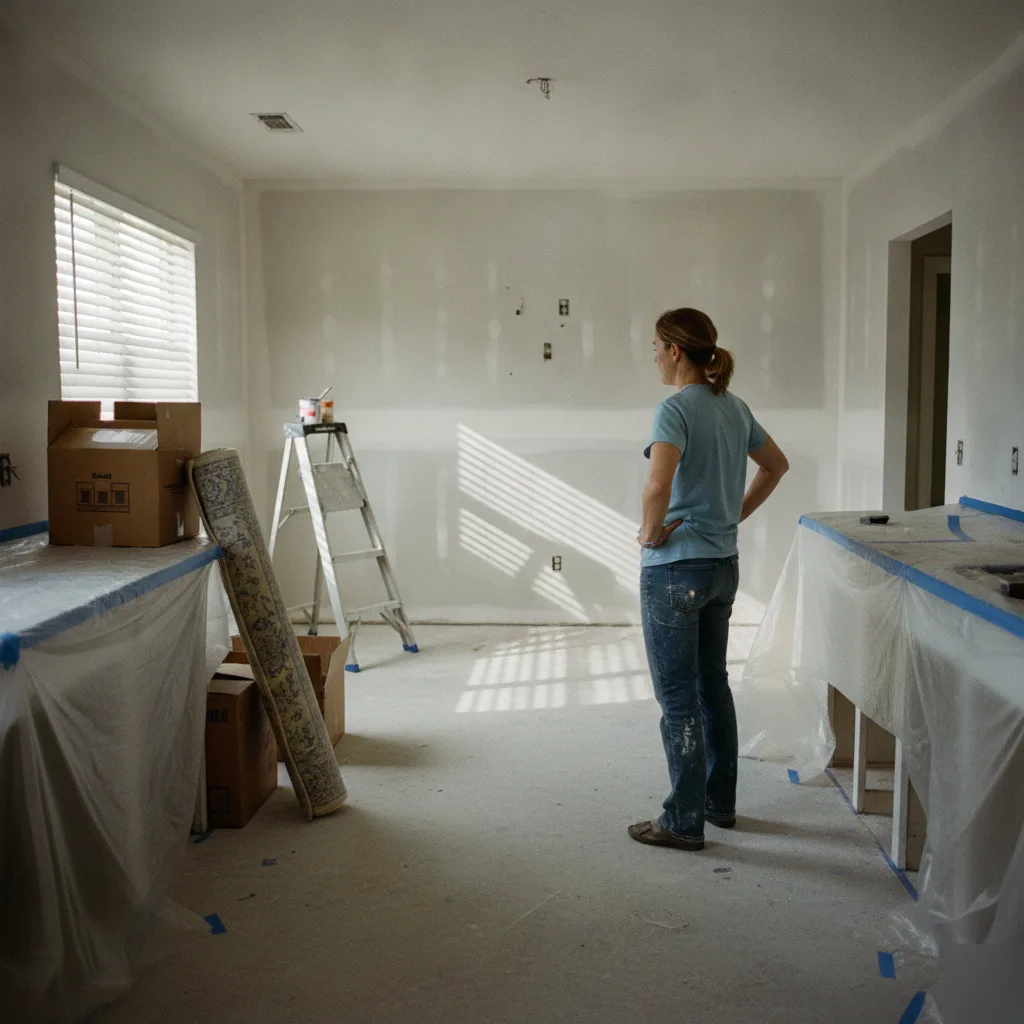
Clear and Protect the Room Before Cabinets Arrive
Before your cabinet installation, clear the room down to bare walls and floors, protect nearby surfaces from dust, and make sure appliances and old cabinets are already out of the way. This one step prevents most of the delays we run into on job sites across Orlando. A clean, open space lets our crew move faster and keeps your home protected in the process. Our cabinet installation services handle this prep for you.
Most people underestimate how much room a cabinet crew actually needs. We show up with tools, panels, and boxes of hardware, and if the kitchen is still full of dishes or the old cabinets are half-hanging, we lose time before we've even started. Clearing the space isn't just tidying up. It's a real part of keeping your project on schedule.
In older Orlando homes, especially in neighborhoods like College Park or Delaney Park, kitchens tend to run smaller and tighter. That makes clearing the space even more important. There's less room to work around clutter, and narrow hallways mean boxes and tools need a clear path from the truck to the install area.
- Remove all dishes, small appliances, and items from cabinets and countertops
- Take out any freestanding furniture or rugs near the work area
- Disconnect and move refrigerators, stoves, or dishwashers if they block access
- Cover flooring in adjoining rooms to catch dust and debris
- Clear a path from your driveway or garage to the install site for hauling materials
We always tell clients to think about dust before they think about mess. Cabinet installation kicks up sawdust, drywall particles, and small debris, and in Florida humidity, that dust settles into fabric and upholstery fast if it's left uncovered. Cover soft furniture, close vents near the work area, and take down curtains that hang close to the cabinets.
One thing we see constantly: homeowners forget about pets. A curious dog wandering into a room full of tools and open cabinet boxes isn't safe for the dog or the crew. Keep pets in another part of the house, or better yet, out of the house entirely on install day.
Protecting your floors matters just as much as clearing the room. Hardwood, tile, and even laminate can scratch under the weight of cabinet boxes being moved into place. We lay down protective coverings before we start, but it helps when homeowners have already cleared walkways of shoes, mats, or decor that could get in the way.
A quick real-world example: on a recent Winter Garden kitchen remodel, the homeowner left a small breakfast table pushed against the wall near the install zone. It seemed harmless enough, but it blocked our access to one full run of base cabinets. We had to stop, move it, and reset our tools. Ten minutes lost isn't a big deal once, but it adds up fast across a multi-day job.
Clearing and protecting the room is one of the easiest steps you control before installation day.
Check Walls and Floors for Level and Anchor Points
Here's something a lot of homeowners never think about: your walls and floors are almost never perfectly straight. Older Orlando homes, especially those built before the 90s, tend to shift a little over the years. Florida's clay soil and humidity swings play a part in that. So before any cabinet goes up, we check the walls and floors for level, plumb, and square.
This step matters more than people expect. If a wall leans even a quarter inch out of plumb, cabinet doors can end up misaligned, drawers might not glide right, and gaps show up exactly where you don't want them. We've walked into homes in Winter Garden and Windermere where the floor sloped almost an inch across a kitchen. That's not unusual for a slab that's settled over 20 or 30 years.
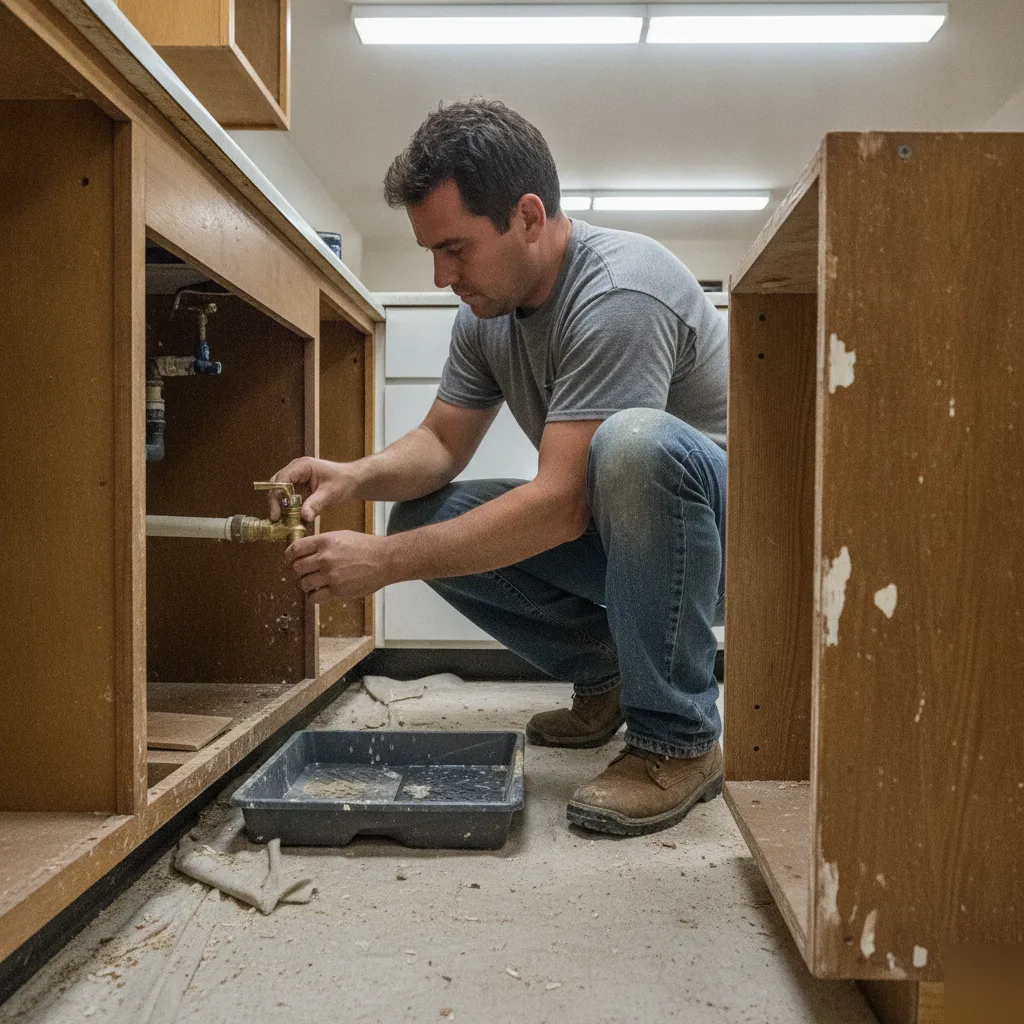
So what does checking actually involve? It's not guesswork. Here's what we look at before we ever pick up a drill.
- Run a level across every wall where cabinets will hang, checking multiple points, not just one spot.
- Check the floor with a laser level to find high and low spots across the run.
- Locate wall studs with a stud finder, then confirm with a small test hole if needed.
- Mark anchor points that line up with framing, not just drywall.
- Note any soft spots, moisture damage, or old patch jobs that could weaken a mounting point.
That last point matters a lot around here. Florida humidity can hide water damage behind drywall for years, so you don't see it until you're anchoring into it. We check for that because a cabinet full of dishes, or a heavy wine cabinet, needs a solid anchor, not a weak patch job hiding behind fresh paint.
We had a job in Ocoee once where the client wanted a full wall of built-ins. It looked fine on the surface, but once we opened the wall to check for studs, we found a section that had been patched after old plumbing work, with no real backing behind it at all. We had to add blocking before we could even think about hanging anything.
That's the kind of thing you want caught before installation day, not during it.
If the floor isn't level, installers use shims to keep the cabinet base straight and steady. If a wall isn't plumb, cabinets get scribed or adjusted so the doors still hang right and close flush. None of this is complicated for someone who's done it a few thousand times, but it does take patience and the right tools. Skip it, and you end up with a beautiful cabinet that never quite sits right.
Handle Old Cabinet Removal and Utility Disconnection
Old cabinets don't just come off the wall on their own. Someone has to pull them, and someone has to deal with the plumbing and wiring hiding behind them. This is one of the messiest parts of prep, and it's where we see the most surprises.
Got a sink in that cabinet run? The water needs to shut off before anything gets touched. Same goes for garbage disposals, ice maker lines, and any outlets tucked inside a cabinet box. We've walked into Winter Garden kitchens where a homeowner started demo without turning off the water, and that's a call nobody wants to make to a plumber on a Saturday.
Here's a simple order that keeps things safe and avoids damage:
- Shut off water supply lines under the sink and at the main if needed
- Turn off power to any outlets or lighting built into the old cabinets
- Remove doors and drawers first to lighten the boxes
- Detach cabinets from the wall studs, working top to bottom
- Cap or plug exposed water lines and electrical wires
- Clear all debris and old hardware from the work area
That last step matters more than people think. Nails, old screws, and shims left behind can throw off measurements for the new install, and a cluttered floor slows our crew down before they even open a toolbox.
Some homeowners want to tackle the demo themselves to save time before we arrive. That's fine for a garage cabinet installation or a simple office cabinet setup, but kitchens are a different animal. Plumbing and gas lines for a range hookup need real care, not guesswork.
We had a job in Ocoee where the homeowner pulled the old upper cabinets but left a live junction box exposed behind them. Nobody got hurt, but it delayed the job while an electrician sorted it out. A quick call before demo would have saved a day.
So who should handle this part? For anything involving water lines, gas, or wiring, we always suggest letting a professional handle removal alongside the installation. It keeps everyone safe and keeps your timeline on track. For simpler spaces, like a closet system or a wall cabinet in a mudroom, doing it yourself is usually fine as long as you follow the shutoff order above.
One more thing worth mentioning: don't toss old cabinet hardware right away.
Soft-close hinges, shelf pins, and even old brackets sometimes get reused for temporary storage or matched against new hardware during a cabinet design consultation. It's a small habit, but it saves a trip to the hardware store later.
This is exactly the kind of detail we walk through during a free estimate, so you're not guessing what to shut off or what to save. Good prep also means budgeting, since kitchen remodel costs add up quickly.
Frequently Asked Questions
Do I need to remove old cabinets myself before installers arrive?
No, you don't need to remove old cabinets yourself, but you should ask ahead of time whether it's included. Old cabinet removal often involves shutting off water lines, disconnecting garbage disposals, or dealing with wiring hidden behind the boxes. This is safer left to a crew that knows what's behind Orlando walls. If you're not sure what your project includes, check our installation process for details on what's handled on install day.
What's the biggest mistake homeowners make when prepping for cabinet installation?
The biggest mistake is leaving furniture or clutter near the work area. Something as simple as a breakfast table pushed against a wall can block access to a full cabinet run and stall the whole crew. Clearing a wide, open path from your driveway to the kitchen keeps the job moving. Small delays like this add up fast on multi-day installs.
How do I know if my walls are strong enough to hold new cabinets?
You can't always tell just by looking. Many Orlando homes, especially older ones in College Park or Delaney Park, have walls that shifted slightly over the years due to humidity and soil movement. A wall might look solid but have soft spots or old water damage behind fresh paint. A proper check involves finding studs, testing for moisture, and marking anchor points tied to real framing, not just drywall.
Should I hire a professional to check my floors before installation, or can I do it myself?
You can spot obvious slopes, but a professional check catches problems you can't see. Florida slabs can settle unevenly over 20 or 30 years, and even a small dip can throw off an entire cabinet run. Professionals use laser levels to find high and low spots across the whole space, then plan shims and adjustments before install day. This step protects your investment and keeps doors and drawers working right for years.





Orlando Kitchen Cabinets Gallery
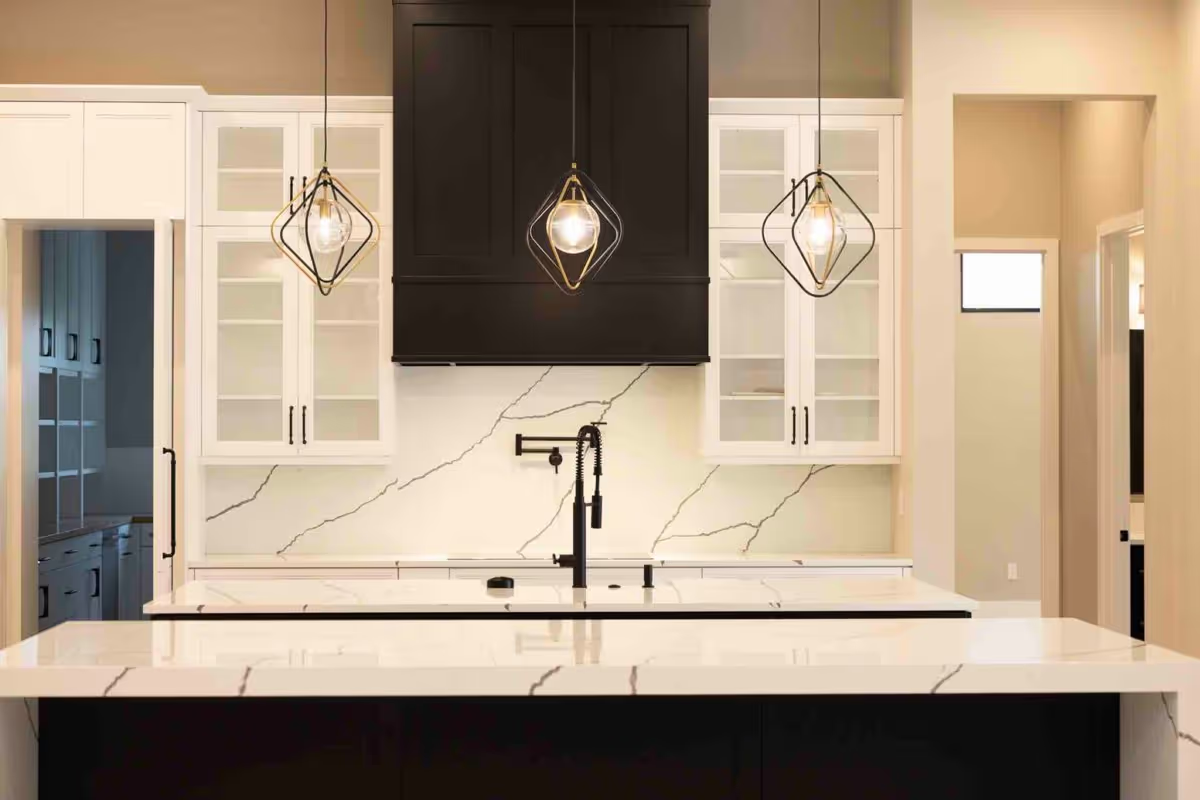
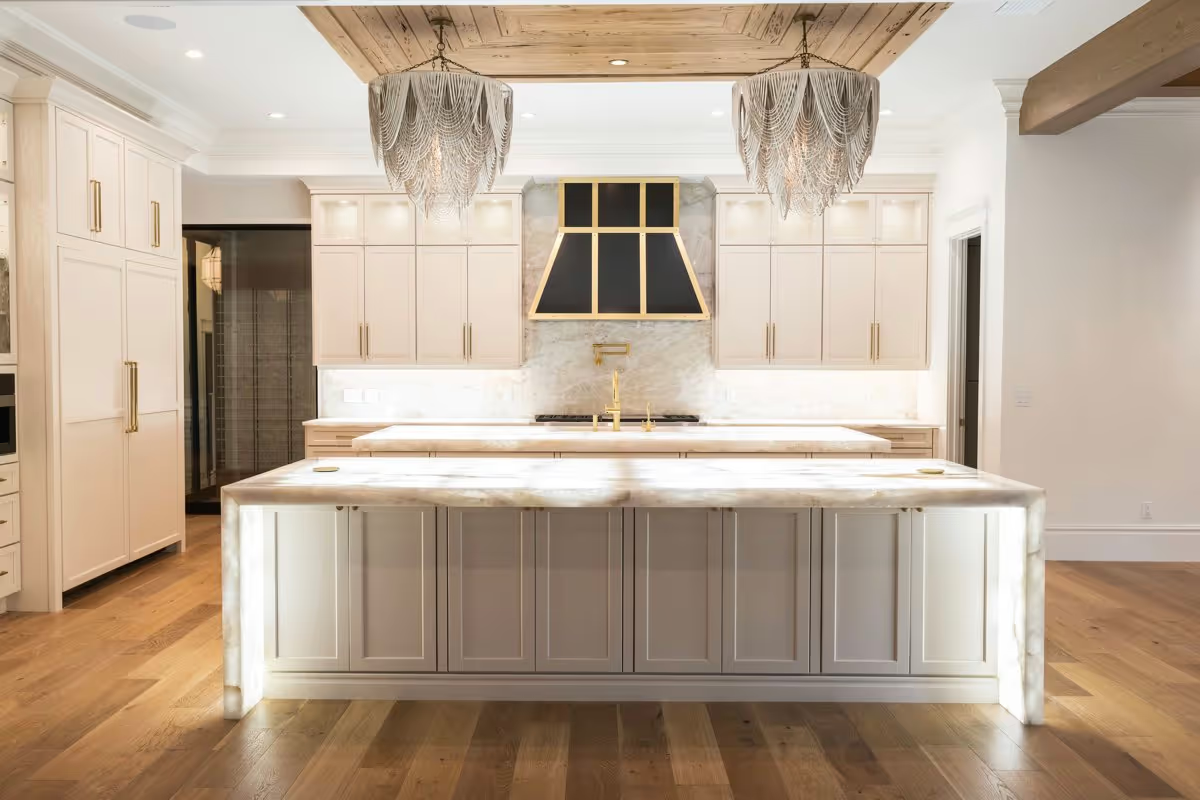
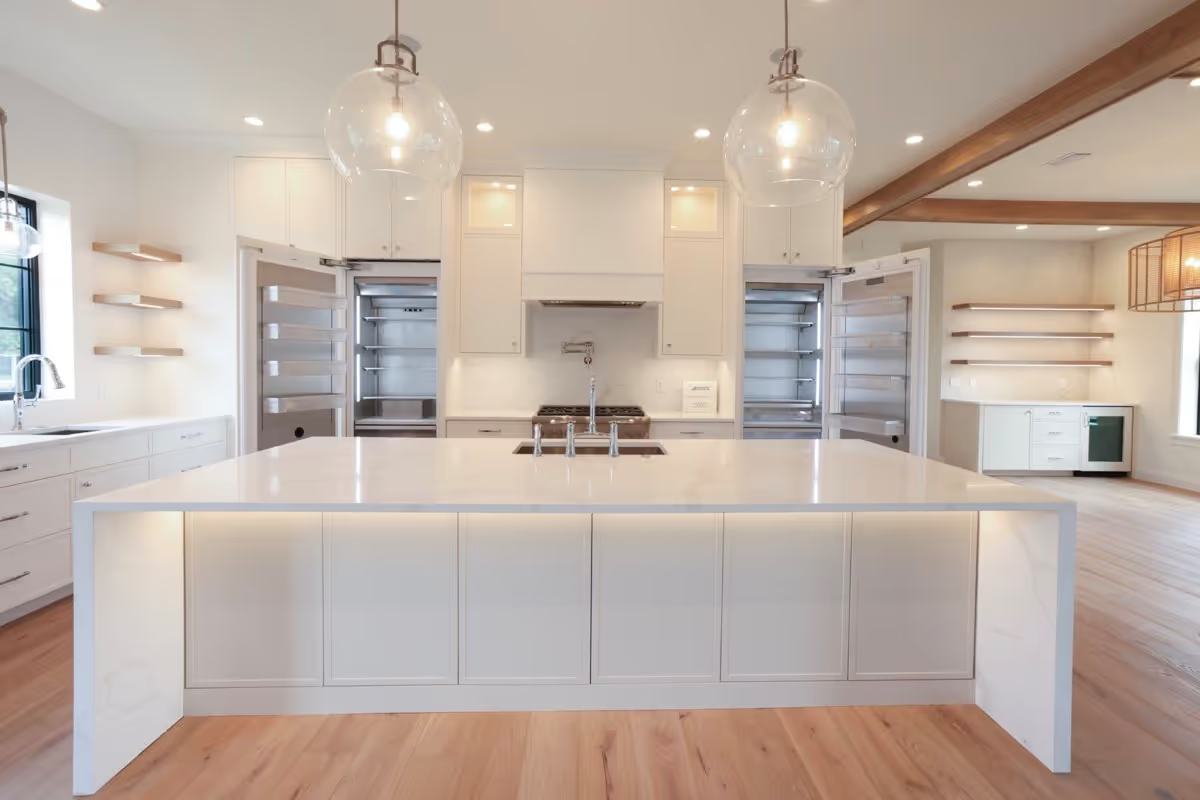
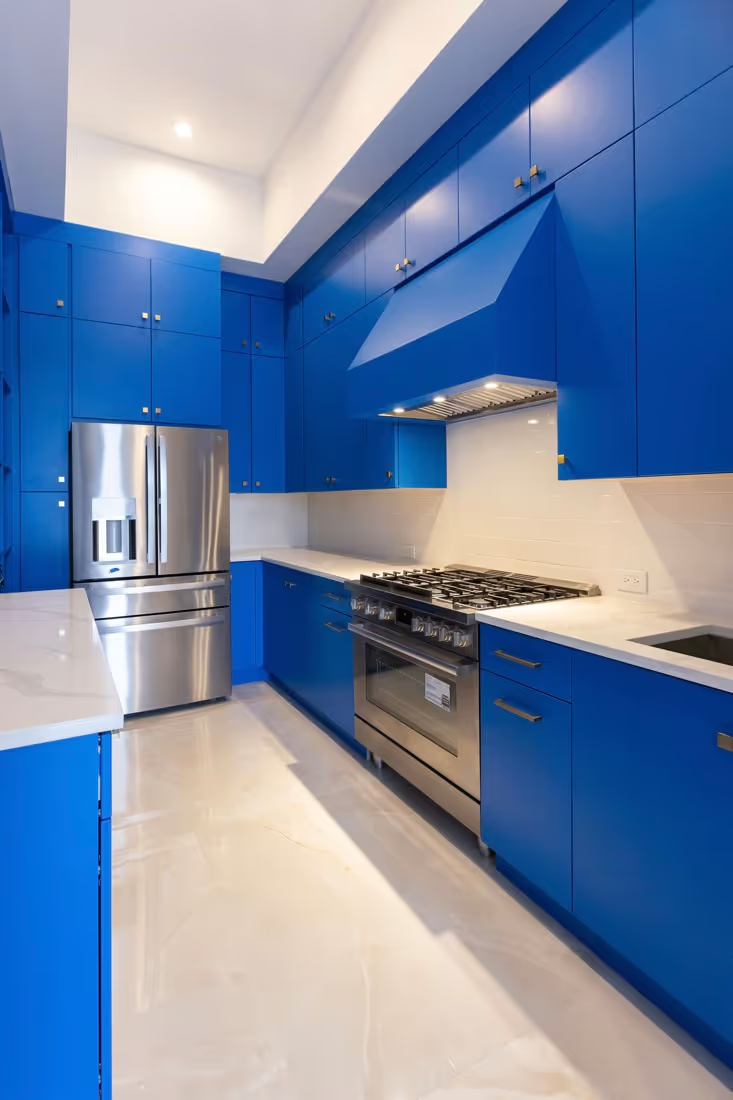
See the craftsmanship and attention to detail behind every Orlando Custom Cabinets kitchen project. Our gallery features real homes across Central Florida where we built custom cabinet solutions to fit each client's space and style. Look through our work and imagine what we can create for your kitchen.